3. Managing User Profile
User profile information is encoded by the user upon receiving account information. Only you, as the employee, is allowed to update your user information. You can updated your user information anytime in the system.
Before performing other functions in the system (File Leave, Request, etc.), you are required to update your user information. This is to prove authenticity of the user and is part of the technical process of the system.
3.1. Updating User Profile
1. Login to your HRMS User Account
2. On the navigation dock, located ate the left section of the site, click User Information
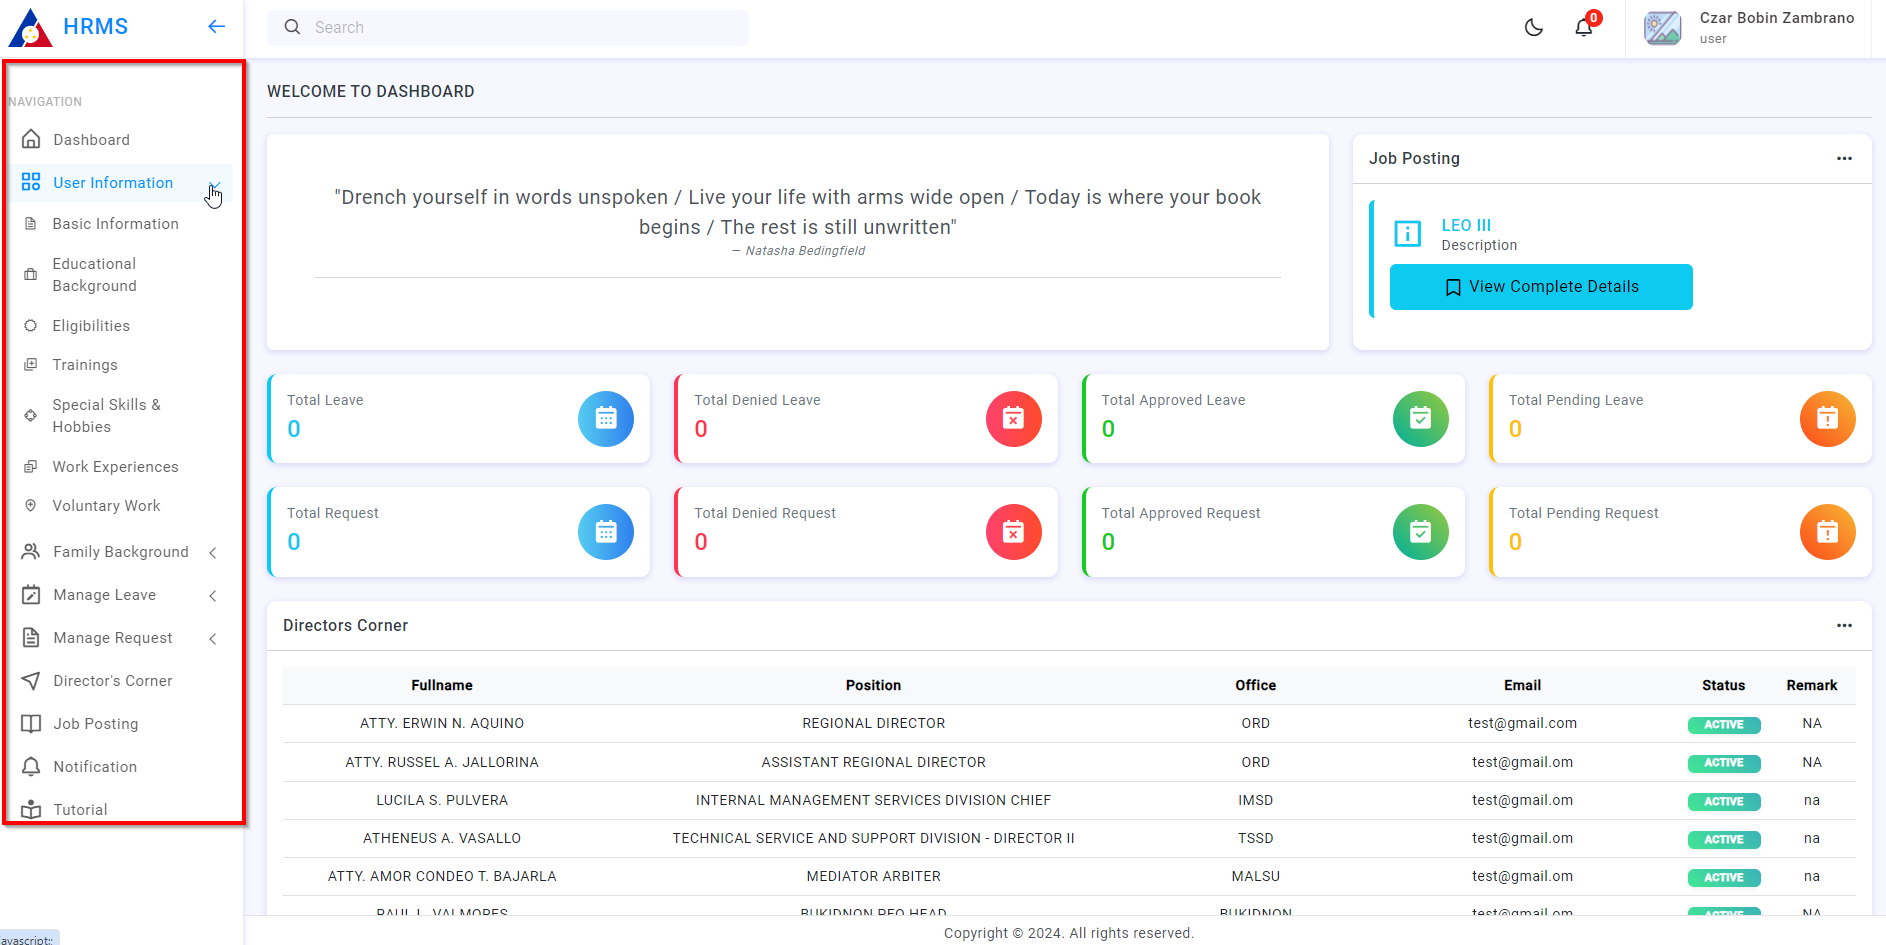
3. Update the necessary details by clicking the following sections:
- Basic Information
- Educational Background
- Family Background
- Spouse Information (If applicable)
- Children (If applicable)
- Elibilities
- Training
- Special Skills & Hobbies
- Work Experience
- Voluntary Work
3.1.1. Updating Basic Information
1. Login to your HRMS User Account
2. On the navigation dock, located ate the left section of the site, click User Information
3. On the dropdown, select Basic Information, a new window will display
4. Fill out the necessary fields
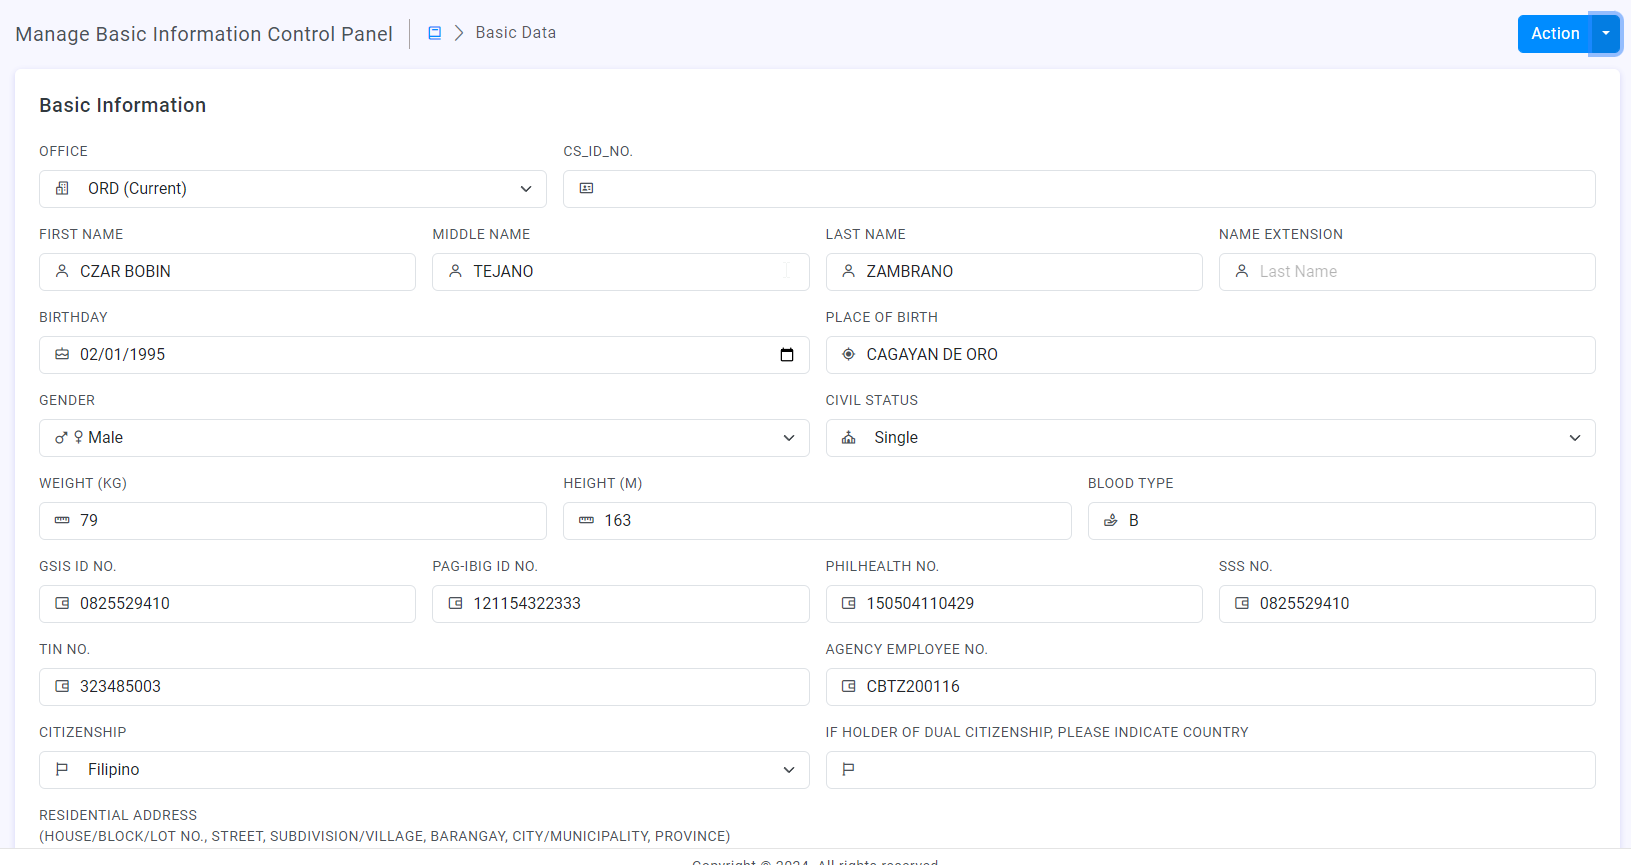
5. After completed updating of details, select Update Basic Information

To generate PDS, click on the Blue Button on the top right section of the page and click Generate PDS
3.1.2. Updating Educational Background
1. Login to your HRMS User Account
2. On the navigation dock, located ate the left section of the site, click User Information
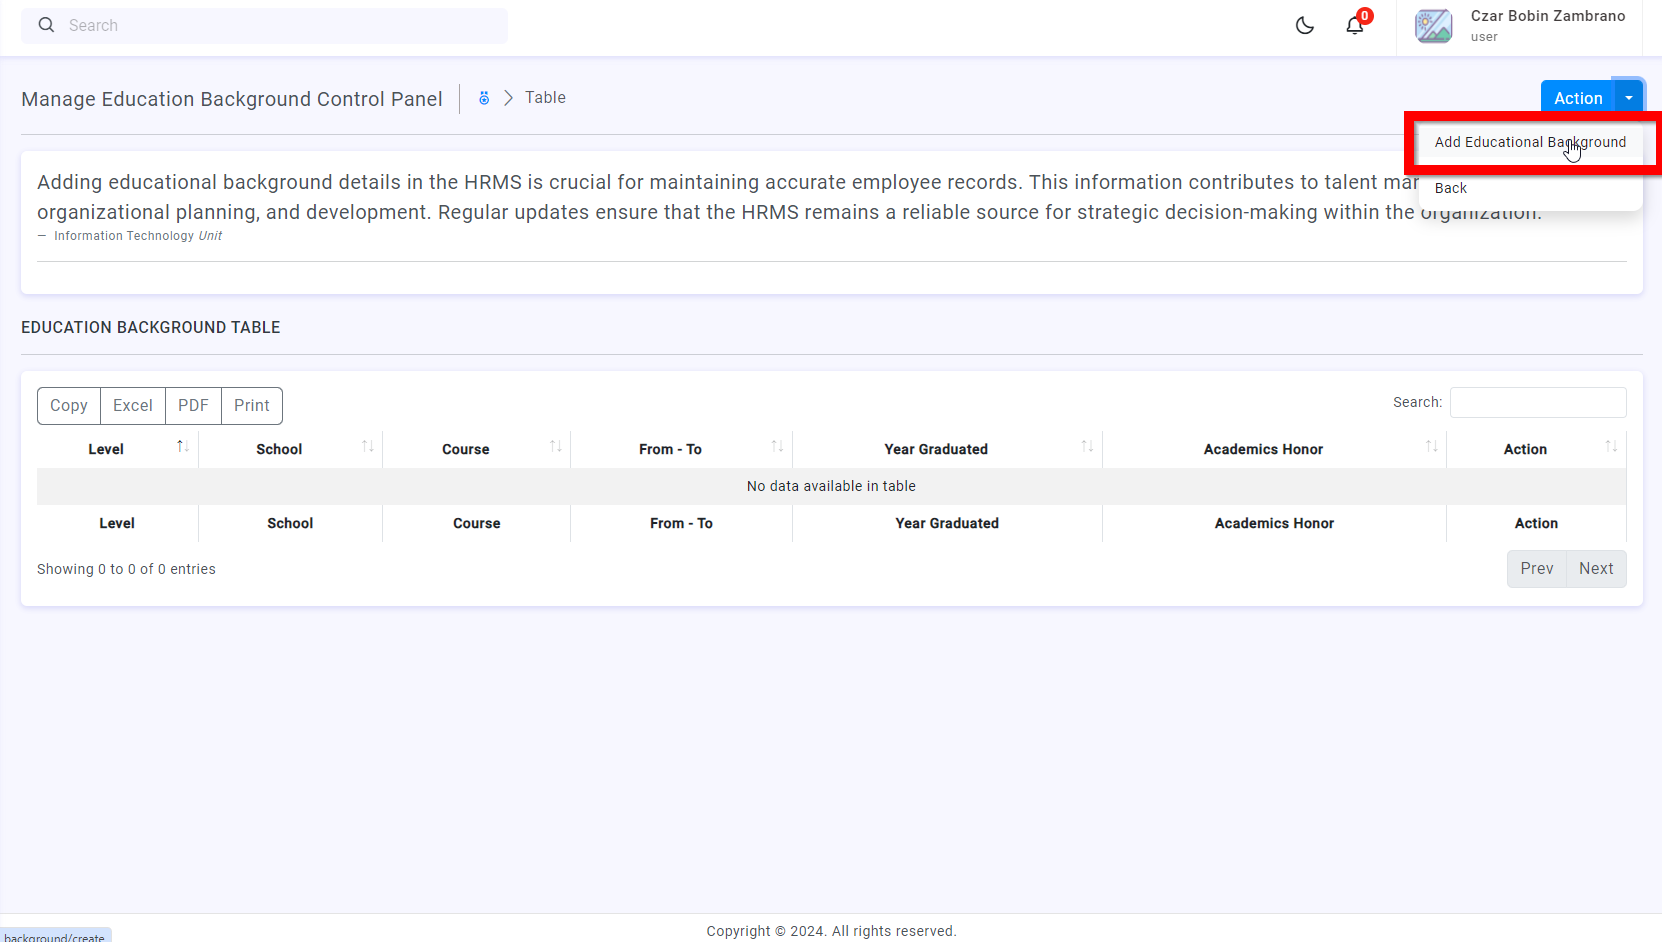
3. On the dropdown, select Educational Background, a new window will display
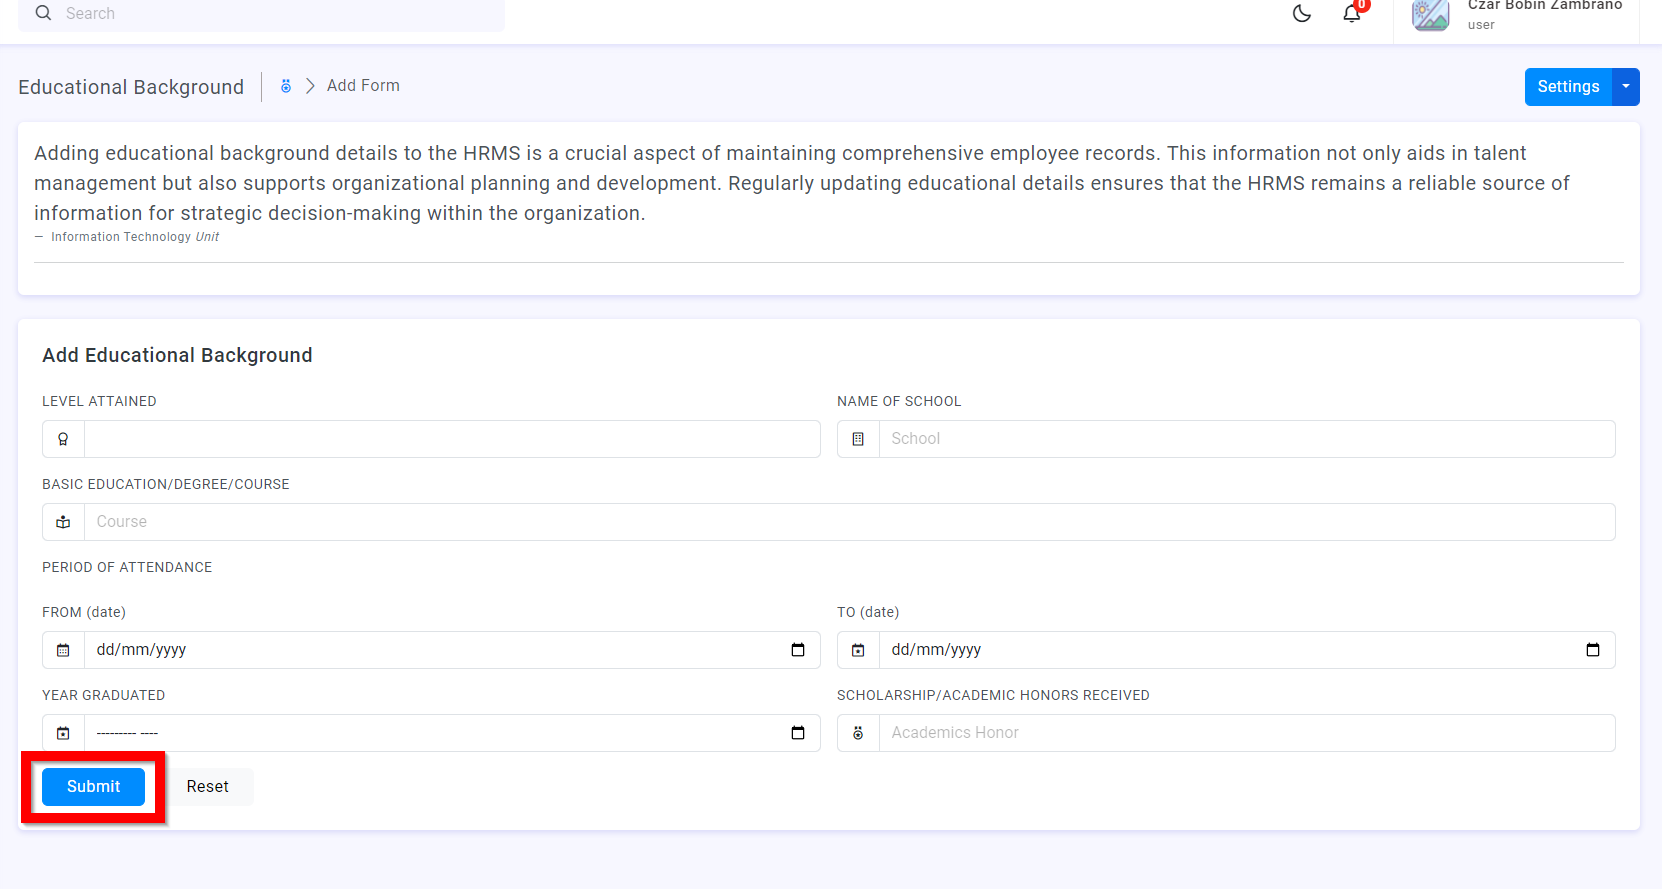
4. To add educational details, click on the Blue button on the top right of the screen and select Add Educational Background
5. After completed encoding of details, click Submit
3.1.3. Updating Eligibilities
1. Login to your HRMS User Account
2. On the navigation dock, located ate the left section of the site, click User Information
3. On the dropdown, select Eligibilities, a new window will display
4. To add details, click on the Blue button on the top right of the screen and select Add New Eligibility
5. After completed encoding of details, click Submit
3.1.4. Updating Trainings
1. Login to your HRMS User Account
2. On the navigation dock, located ate the left section of the site, click User Information
3. On the dropdown, select Training, a new window will display
4. To add details, click on the Blue button on the top right of the screen and select Add New Training
5. After completed encoding of details, click Submit
3.1.5. Updating Special Skill & Hobbies
1. Login to your HRMS User Account
2. On the navigation dock, located ate the left section of the site, click User Information
3. On the dropdown, select Special Skills & Hobbies, a new window will display
4. To add details, click on the Blue button on the top right of the screen and select Add New Training
5. After completed encoding of details, click Submit
3.1.6. Updating Work Experience
1. Login to your HRMS User Account
2. On the navigation dock, located ate the left section of the site, click User Information
3. On the dropdown, select Work Experience, a new window will display
4. To add details, click on the Blue button on the top right of the screen and select Add Work Experience
5. After completed encoding of details, click Submit
3.1.7. Updating Voluntary Work
1. Login to your HRMS User Account
2. On the navigation dock, located ate the left section of the site, click User Information
3. On the dropdown, select Voluntary Work, a new window will display
4. To add details, click on the Blue button on the top right of the screen and select Add New Voluntary Work
5. After completed encoding of details, click Submit